
Viva Las VegaStamps! is having a swap with 7Dots Studio for the whole month of November! For my post I decided that instead of using pencil, pen or paint, I'd color my stamped images with 7Dots paper!

Supplies
VLVS! Stamps Used:
Split Globe - Item 6505 Plate 617
Worn Clockface - Item 19039 Plate 918
Washi Chevron Background - Item 19072 Plate 917
7Dots Studio 'Love is in the Air' Scrapbook Paper
Sakura of America Gellyroll Silver Metallic pen
Miracle Tape
Stillman & Birn Zeta Sketchbook
Adhesive Paper Drywall Tape
Golden Clear Granular Gel
Golden Micaceous Iron Oxide
Golden Fluid Acrylics-Hansa Yellow Medium, Transparent Red Oxide
Adirondack Paint Dabbers- Willow, Juniper, Terracotta
Black steel-tipped pen
Alphabet Stencil
Palette Knife
So what do I mean--coloring with paper? It's paper-piecing, in essence. I stamped the same image on two or three different sheets of 7Dots Studio scrapbook paper, and cut the images out.

Then I paperclip the two images together, making sure they are perfectly aligned, and cut them at an angle or with curving lines. I take half from each color of paper, and tape them together.

I place Miracle Tape all along the back, leaving the backing on the tape until I'm ready to use the piece.
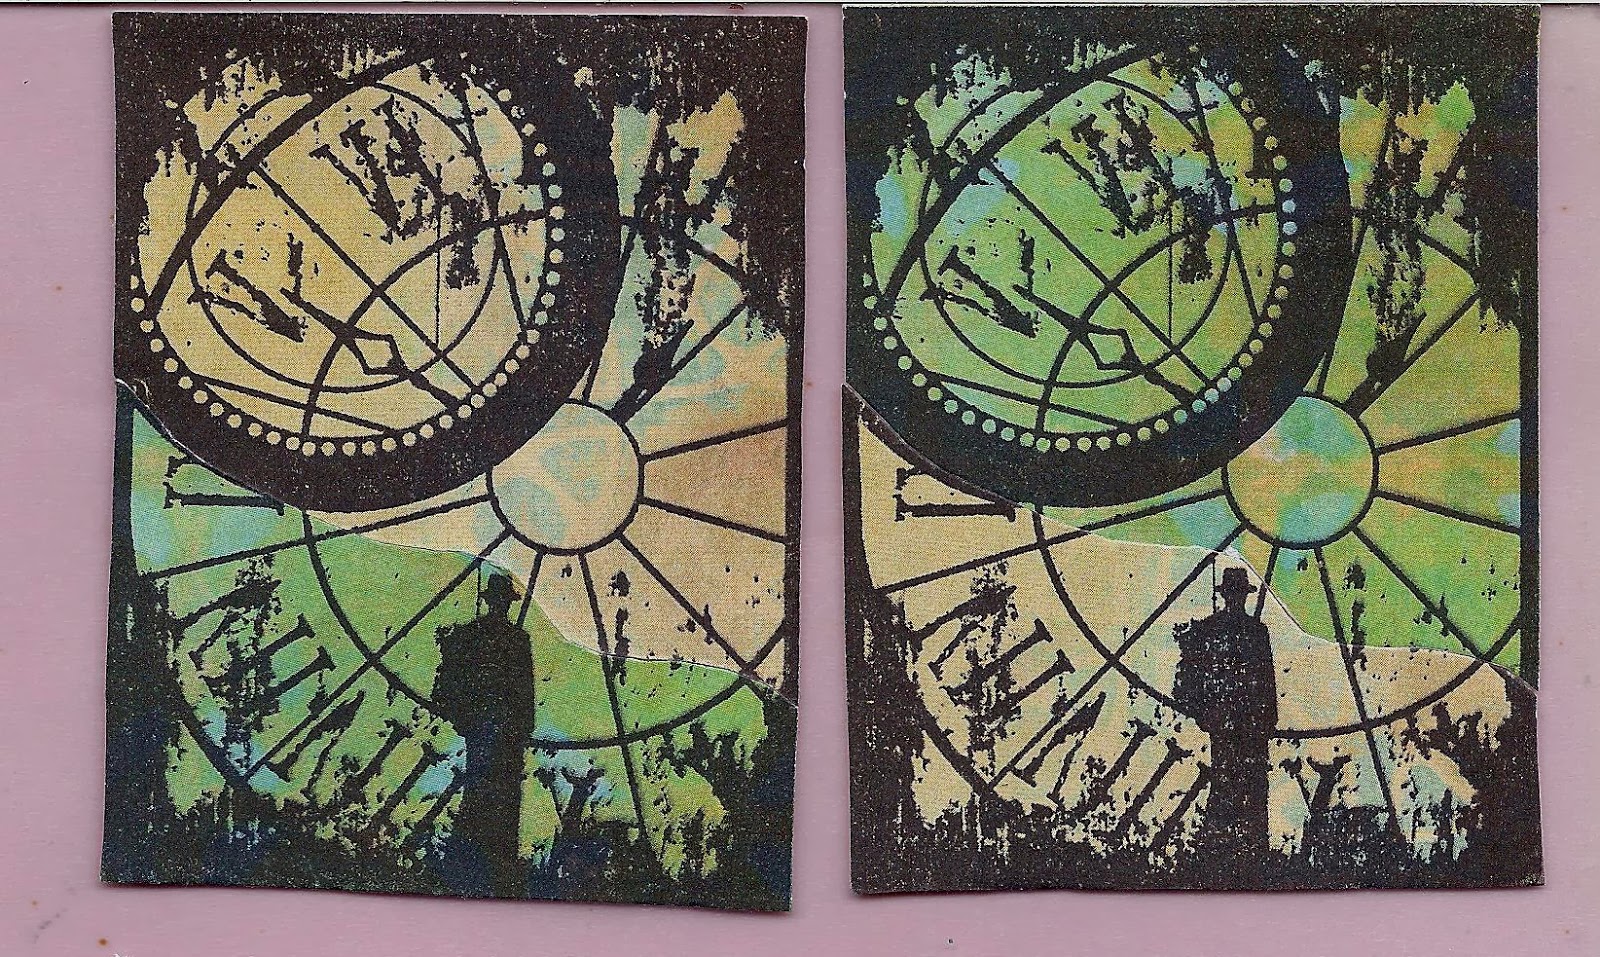
I end up with two embellishments with subtle, yet dramatic coloration. (I only used one of my Worn Clockface in this project, so I have one to use later). I repeated this with the other stamped images I'd done.

For my globes, I stamped the image on three pieces of 7Dots Studio paper.

And while I was at it, I stamped some Christmas images onto 7Dots Studio 'The Queen's Heart' for later use.

For my art journal page, I created a background by painting at random with Micaceous Iron Oxide. I left much of the paper uncovered and I painted the spread with fluid acrylics -- in some areas, Hansa Yellow Medium and, in other areas, with Transparent Red Oxide. I taped strips of drywall adhesive paper here and there.

I peeled the backing off the Miracle Tape and added my images. I used an alphabet stencil to add my saying, using a steel-tipped pen, because Micaceous Iron Oxide is abrasive. I went around the words with silver metallic gellyroll pen, and used it to add some doodling as well.

To add some texture, I scraped on some clear granular gel with a palette knife, and let it dry overnight. I dabbed Willow and Juniper acrylic paint over the granular gel.
My last step was to go over the words again. The scan doesn't really show it, but they appear to be incised into the paper.
I like this method of coloring. Creating embellishments like this will be a nice project for days when I want to create but don't have much oomph. It will be nice to have a collection of these stamped images for use whenever I need them!
Don't forget to check out the VLVS! November Challenge for a chance to win (plus it's fun!).
Thank you for stopping by, and I hope you've enjoyed sailing on Haunted Seas!For more of my work with Viva Las VegaStamps!, Amazing Mold Putty, zentangle-inspired art, and daily links to tangles, tutorials, and giveaways please visit my "Life Imitates Doodles" blog. ~ Sandra Strait
3 comments:
Gorgeous!!
What a super cool technique! so so clever, and lovely!
Thank you both!
Post a Comment